Quickstart
To get started with HorusAI, follow these steps:
1. Navigate to HorusAI
Section titled “1. Navigate to HorusAI”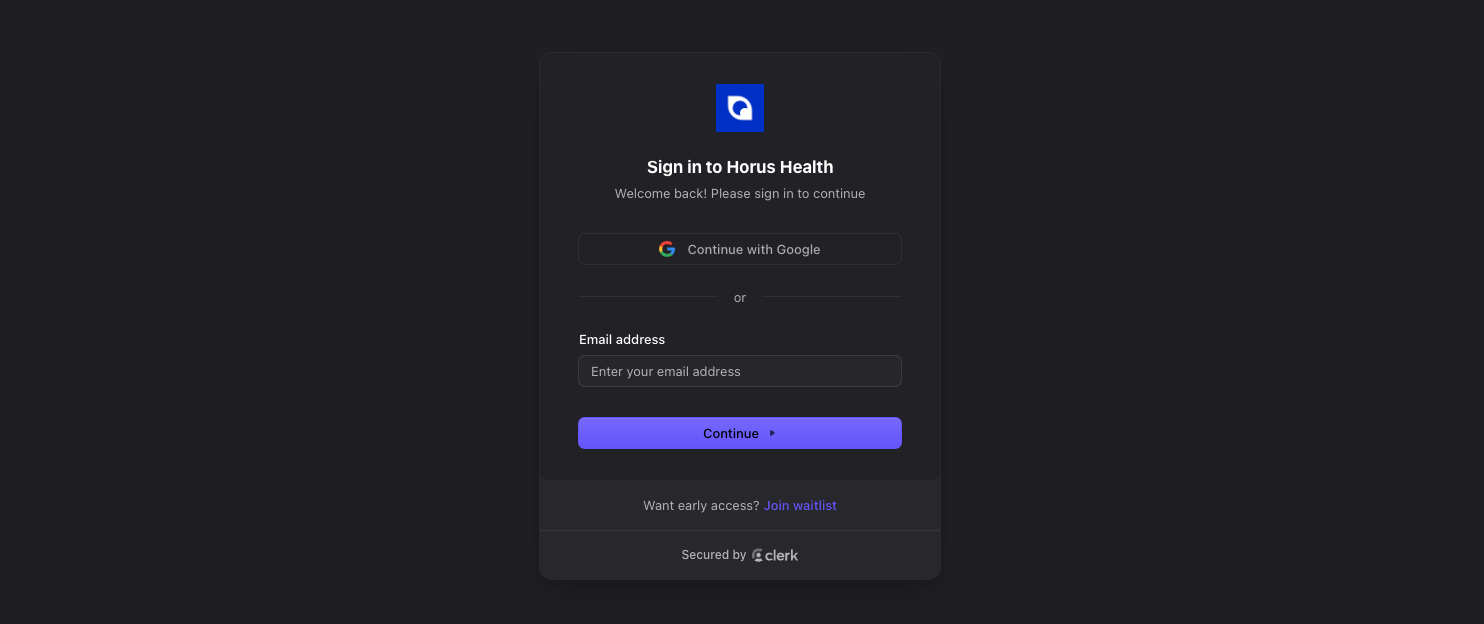
2. Sign Up/Log In
Section titled “2. Sign Up/Log In”- If you already have an account, click ‘Log In.’ If you’re new, click ‘Sign Up’ to create an account.
3. Get Familiar with HorusAI
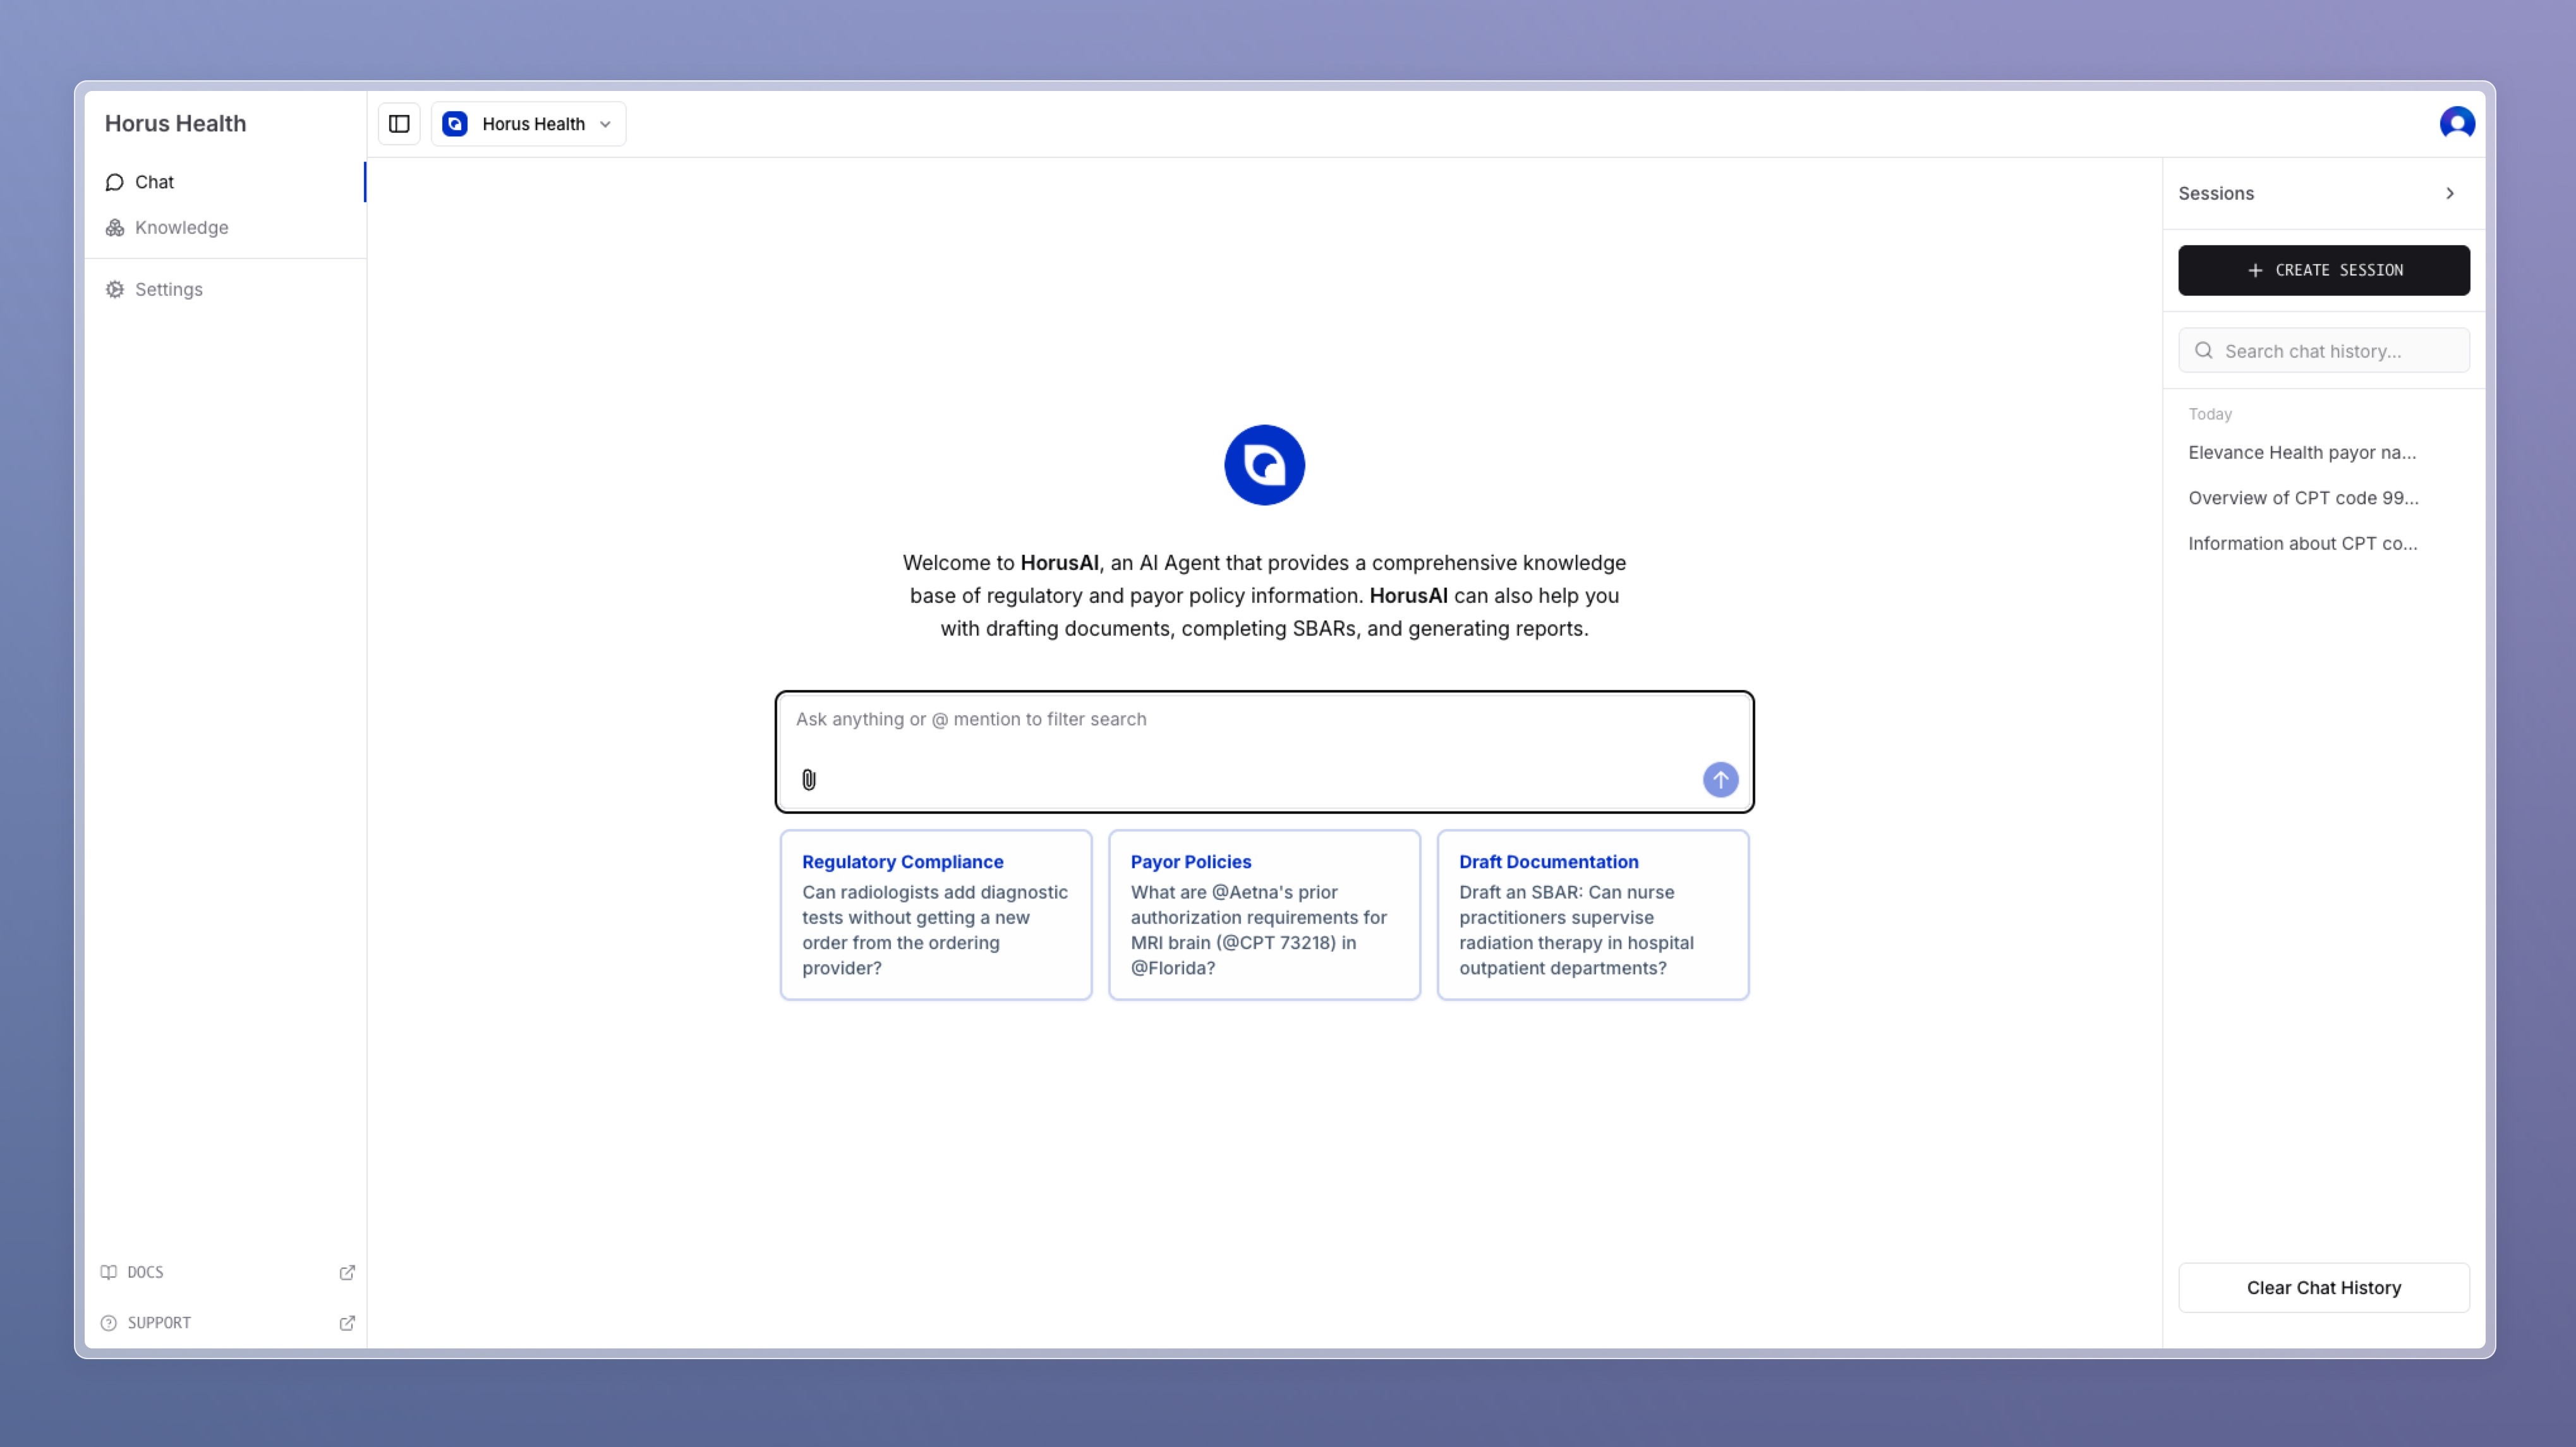
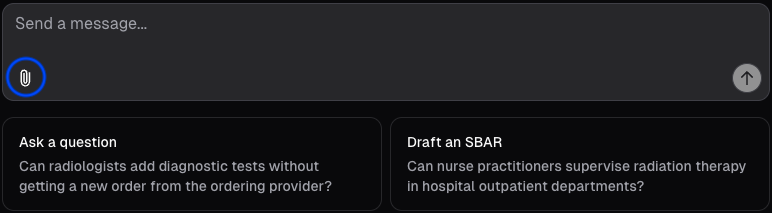
Section titled “3. Get Familiar with HorusAI”Once logged in, look for the chat interface. It typically resembles a messaging app, with a text box for typing your queries.
Navigating the Functions and Features
Section titled “Navigating the Functions and Features”This section will help you understand how to use HorusAI. You’ll learn about its main functions, what each button does, and how to navigate its features. This will make your experience with this smart AI tool smoother and more enjoyable. Whether you’re new to AI or already familiar, you’ll find helpful tips here to make the most of HorusAI.
Knowledge Base Search
Section titled “Knowledge Base Search”Input Query
Section titled “Input Query ”The input query field is displayed at the bottom or center. Here, all relevant questions and searches can be inputted. Just click in the box and start typing.
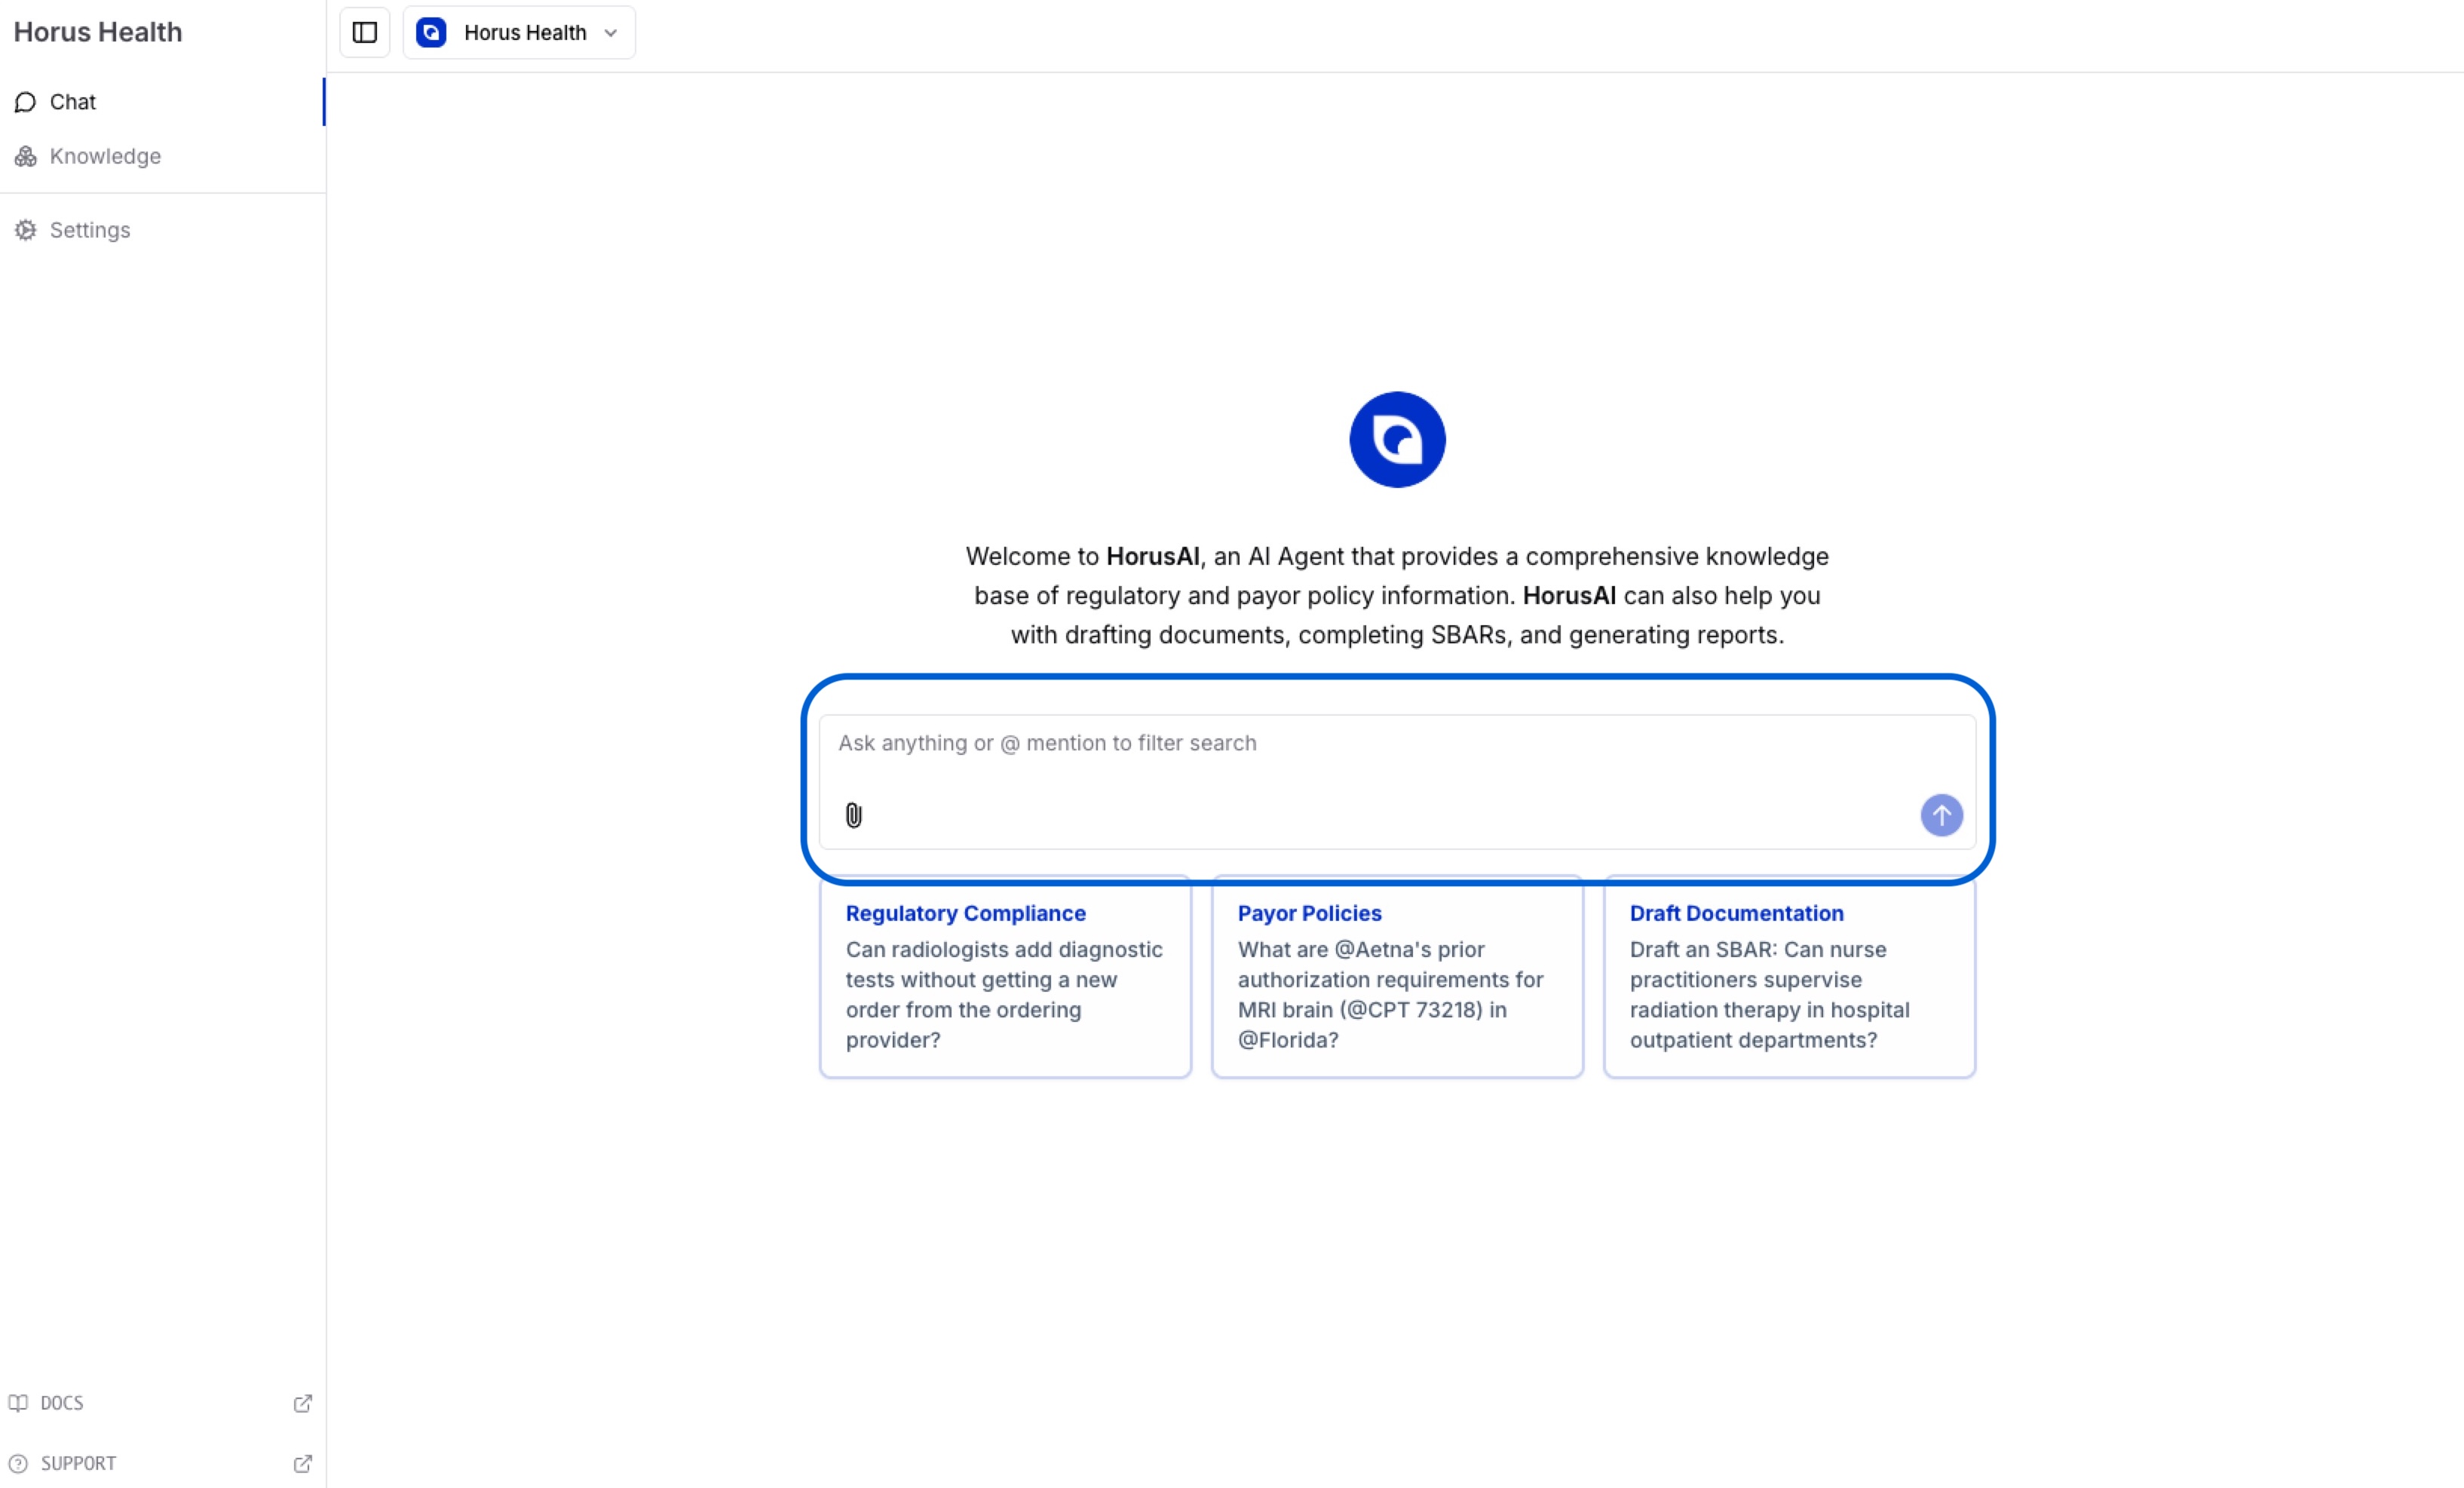
Submit Query
Section titled “Submit Query”After typing, click ‘Send’ (looks like an arrow) to send your question to HorusAI. Or, simply press ‘Enter’ on your keyboard.

Upload Files
Section titled “Upload Files”Through the file bottom in the bottom left of the textbook, files can be uploaded as context for the copilot’s search.
Use @ to filter searches
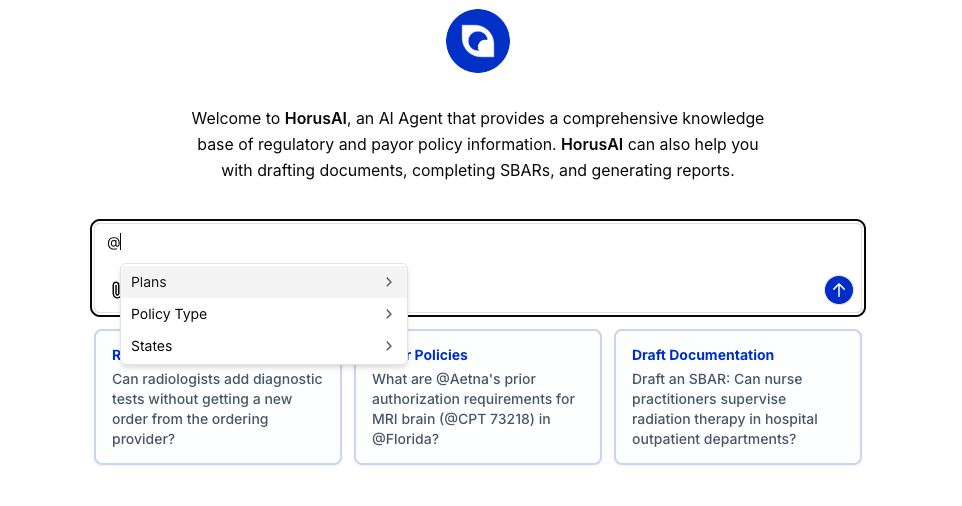
Section titled “Use @ to filter searches”Type ’@’ to filter queries by specific fields, including payors, policy types, and states.
Share Searches
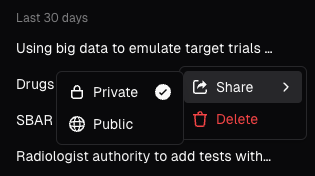
Section titled “Share Searches”Searches can be shared by clicking the “Share” button within chat history and clicking the “Public” option in the dropdown.
Search History
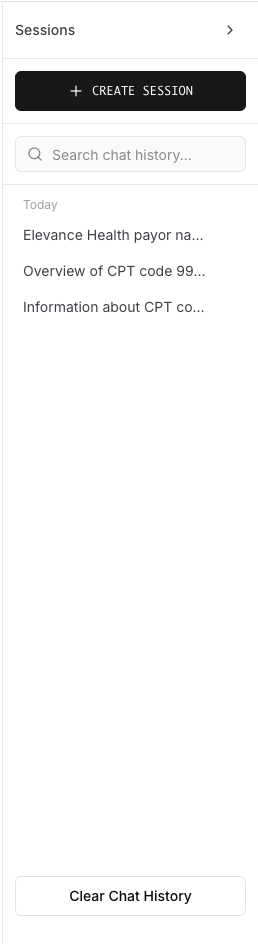
Section titled “Search History”View past chat queries & clear history if needed by clicking the “History” icon in the top right corner.
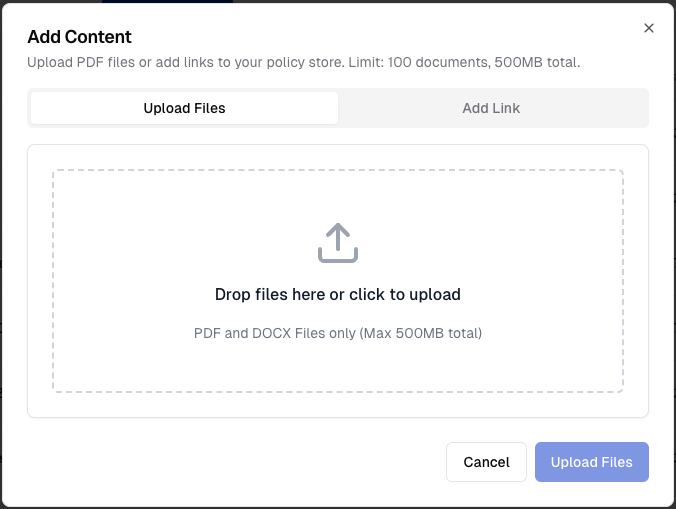
Policy Store
Section titled “Policy Store”Store Organization Policies
Section titled “Store Organization Policies”Internal Policies stored in the form of PDFs and DOCX can be uploaded into the HorusAI “Policy Store. ” Website links may also be added as reference
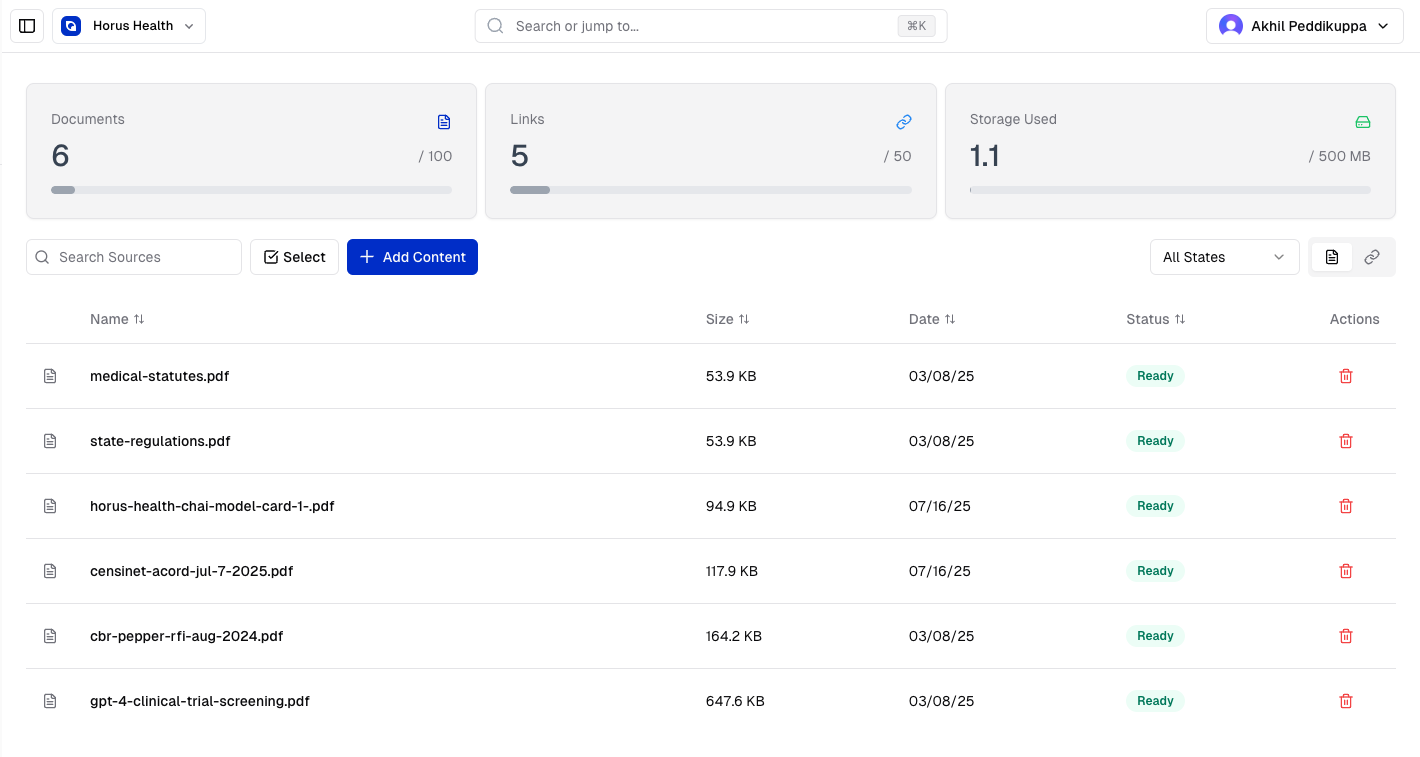
Upload Specific Relevant Documents and Links for Retrieval
Section titled “Upload Specific Relevant Documents and Links for Retrieval”Through the policy store, users can upload either documents or links to be used as context to make HorusAI give more tailored answers. HorusAI will reference such documents and links when it outputs its answer to an query.